![]()
← All SimuRC-PRO documentation
Hsimracing · SimuRC-PRO
What You Need
Hardware checklist to run our solution.
Simu-RC Pro software and licence
Get the software from our store: hsimracing.com/product/simurc-pro/
A Windows PC
You do not need a gaming PC. No dedicated graphics card, no 800 to 1500 EUR rig. Almost everything rests on the processor (for video decoding), and a modern quad-core is plenty. If you already own a Windows PC from the last 8 to 10 years, there is a good chance it already runs SimuRC-PRO as is.
Rough guide by use case: an inexpensive second-hand laptop (around 50 to 150 EUR) is enough just to drive the car; a small new mini-PC (Intel N100) or a used office machine (around 150 to 300 EUR) adds live FPV video; the same with 16 GB of RAM (around 200 to 400 EUR) handles telemetry and motion. Just avoid very low-end chips (Atom, old Celeron).
See the detailed requirements for each use case
1 · Just driving the car
In short: almost any Windows laptop from the last several years will do. Do not overthink it.
Details: Windows 10 (64-bit) or Windows 11. Any modern dual-core CPU (avoid bottom-tier Atom/Celeron chips). 4 GB RAM on Windows 10, 8 GB is more comfortable on Windows 11. About 1 GB of free disk. One USB port for the ELRS transmitter, plus your wheel or controller. No graphics card. The runtime ships inside the installer, so there is nothing extra to install.
2 · Driving + live FPV video on the PC
In short: this is where a bit of power helps. Use a real quad-core: the video is decoded by the processor.
Details: Windows 10 or 11 (64-bit). A genuine quad-core from around 2016 onward (Intel i5-6xxx or newer, AMD Ryzen 3 or newer, or a small Intel N100 mini-PC). 8 GB RAM. About 2 GB of free disk. Integrated graphics is fine, no dedicated card. One free USB port for the RTL8812AU Wi-Fi adapter (a rear or USB 3.0 port is best for stable power). Good to know: that adapter is dedicated to the video link, so keep a second connection (Ethernet or another Wi-Fi) if you also need the internet while driving.
3 · Driving + FPV video + telemetry and motion (SimHub)
In short: the same kind of PC, just give it more room: a quad-core and 16 GB.
Details: Windows 11 (64-bit) recommended, as that is SimHub’s own supported minimum. A genuine quad-core. 16 GB RAM. About 4 GB of free disk. Integrated graphics is fine. A third USB port for the SimHub motion or bass-shaker controller (use a genuine serial adapter). SimHub stays light here because the telemetry comes from the car itself, not from a PC game running alongside.
A wheel and pedal set (or any controller with 2+ axes)
Any wheel and pedal set that Windows recognizes as a controller works with SimuRC-PRO. To check, type joy.cpl in the Windows search bar and confirm your device shows up there. A force-feedback wheel with pedals delivers the best experience, but a basic gamepad is enough to get started.
Tested and confirmed brands:
Fanatec
Thrustmaster
Logitech G
Heusinkveld
HSimRacing
Older or less common models work too, as long as Windows sees them. If your hardware does not behave as expected, reach out on our Discord and we will be happy to help and add your gear to the tested list.
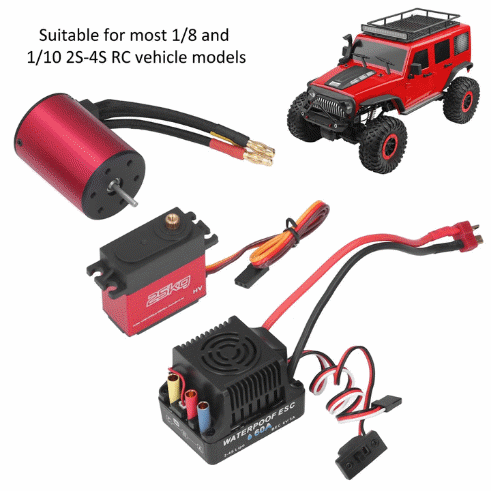
A compatible RC car
Any RC car where you can connect a 3-pin servo and a motor controller, as shown below. Suitable for most 1/8 and 1/10 2S to 4S RC vehicle models.
Want a complete TX + RX + FPV kit, ready to run?
Contact us at contact@hsimracing.com. It is not the cheapest route, so if you prefer to source the hardware on your own, it is easy. Using our affiliate links below helps support us with a small commission on each purchase, and you can Build It Yourself.
Important. The ELRS firmware version must match between TX and RX (both on 3.x.x or both on 4.x.x). The frequency range (e.g. 2.4 GHz) must also be consistent on both ends.
RX system — ELRS Receiver
Radiomaster ER4. ELRS receiver with PWM outputs. Make sure the 2.4 GHz version matches your TX. Drone receivers will not work as they lack PWM and cannot drive the servo controller. SimuRC-PRO uses channels 1 and 2.
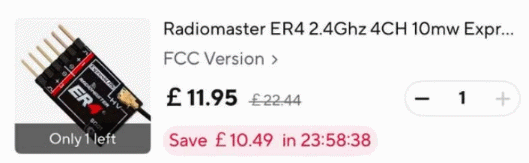
Buy the ELRS receiver (Radiomaster ER4) →
TX system — ELRS Transmitter
In short
You need a TX module plus one RX (in the car). The TX module connects to your PC in ONE of two ways (pick one):
- Directly by USB. Simplest, but the PC port must supply 3 A, which is rare. On a normal port the TX is underpowered (shorter range).
- Through a small RP2040 USB board plus a 5 V / 3 A charger to power the TX module. A few more parts, but full power on any PC.
One TX, one RX. No second receiver needed.
To turn your computer into an emulated radio with our software, you need two components: an ELRS TX module, and a USB bridge to connect it to your PC. Or, on supported modules, a direct USB connection that removes the need for the bridge entirely (see the dedicated guide below).
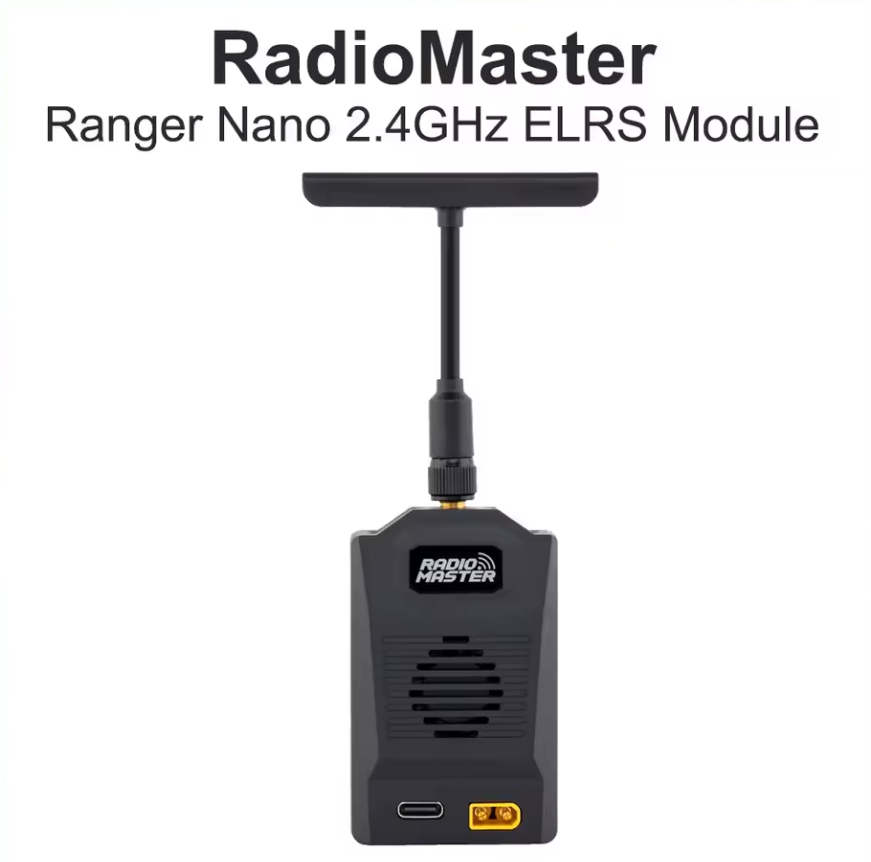
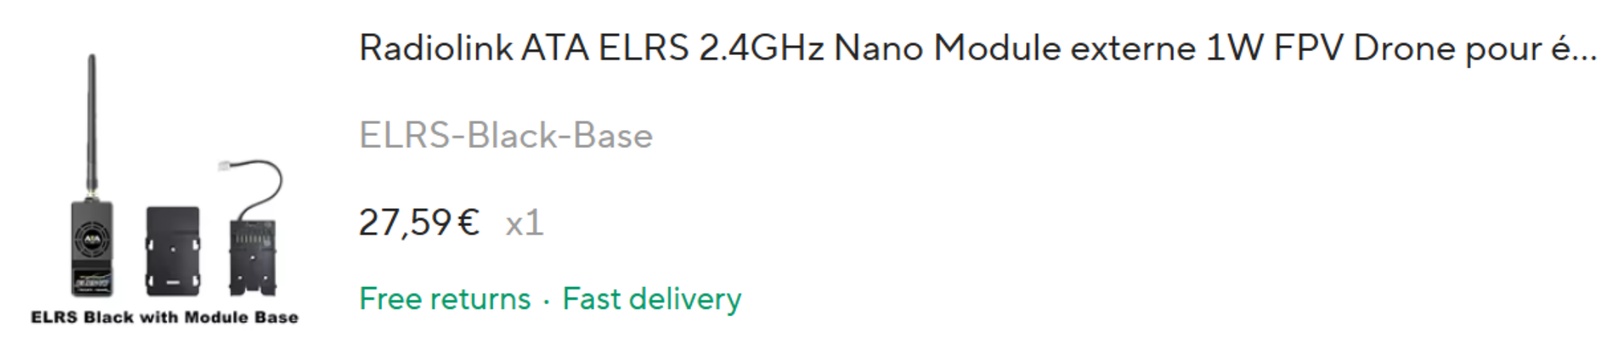
Recommended TX modules
A high-power ELRS module. Make sure the 2.4 GHz version matches your RX.
- Radiolink ATA Nano 1W external module. Order it with the ELRS Module Base option so it can be connected without any soldering.
- Radiomaster Ranger Nano. Compact, well supported.
- Radiomaster Ranger Micro. Compact ESP32-based module. Field-validated in Direct USB mode (see Direct USB guide below).
Buy a recommended ELRS TX module →
USB bridge (Raspberry Pi Pico / RP2040)
We provide a firmware that turns a Raspberry Pi Pico (RP2040) into the USB bridge between your PC and the TX module. We recommend the welding option (pre-soldered headers) if you want a true plug-and-play experience.
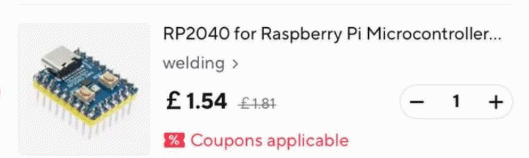
Buy the RP2040 (Raspberry Pi Pico, pre-soldered) →
Notes:
- If you want to avoid soldering, use the pre-welded pin version of the RP2040 and three Male-to-Female Dupont wires (only three are needed, but they are usually sold in packs of 40).
- Add a 3A USB-C charger (a phone charger works) to power the TX module for long-range use. As a minimum, plug a second USB cable from the computer to the TX. The PC USB port delivers 500 mA, while the TX requires up to 3000 mA at full power. Be careful: control distance may be limited otherwise.
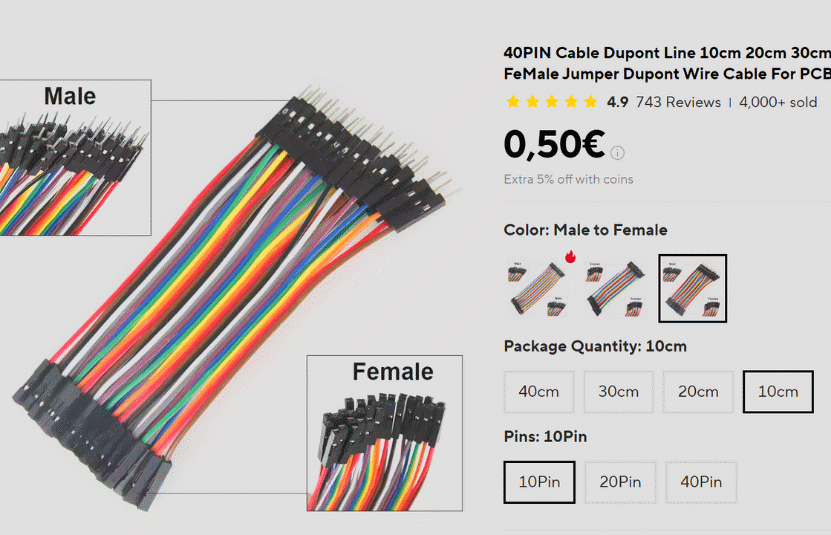
Buy the small TX-connector wires →
Buy the USB cable (TX power) →
Assembly extras (optional): to insulate and secure your wiring.
Alternative: Direct USB (no bridge needed).
Some TX modules (Ranger Micro, Ranger Nano, BetaFPV 1W Micro) can be connected directly to your PC by USB, removing the need for the RP2040 bridge entirely. See the dedicated guide: Direct USB connection for ELRS TX modules.
FPV video feedback
Two paths are available, depending on your budget and the video quality you want. Please let us know what you use to get FPV on your PC screen or with goggles by emailing contact@hsimracing.com. Thanks.
Option 1 — Digital HD (recommended)
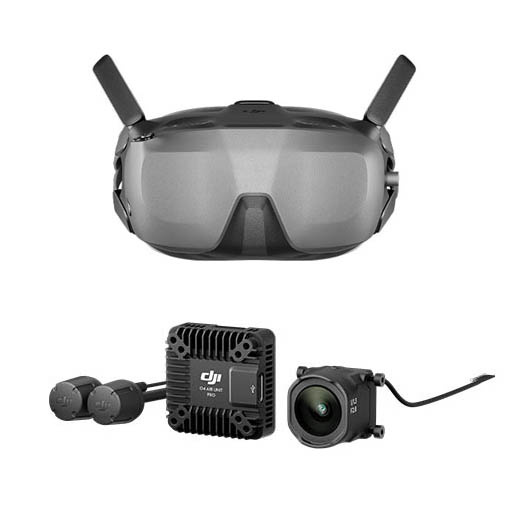
DJI O4 with DJI goggles is the easiest way. But the picture only appears in the goggles, not on your PC screen.
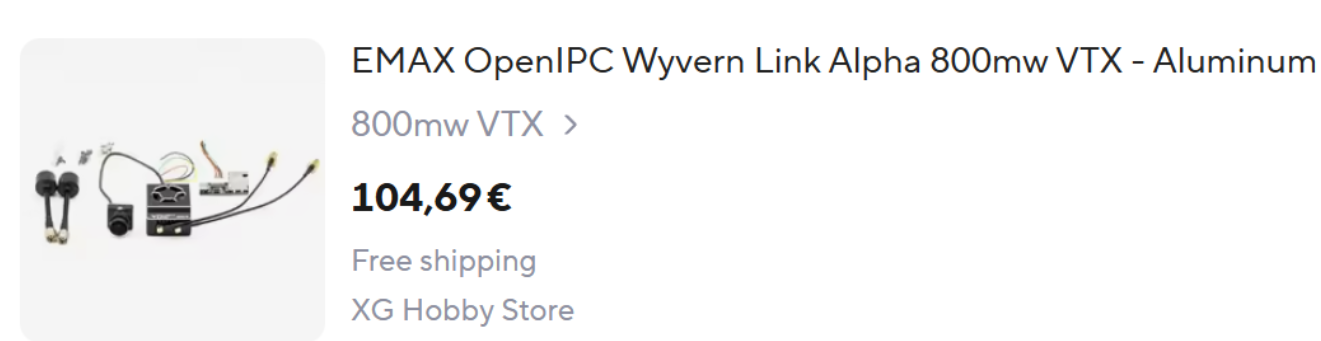
EMAX OpenIPC Wyvern Link Alpha 800 mW VTX with APFPV is cheaper. It looks close to DJI’s HD video systems. Your PC Wi-Fi can act as the receiver, but we strongly advise a USB Wi-Fi adapter with the exact RTL8812AU chipset. No goggles needed.
Note. The EMAX Wyvern VTX is also the component required to run our upcoming SimuRC-PRO TrueFeel add-on (real telemetry feedback from the buggy: speed, G-forces, vibrations). If you think you might want TrueFeel later, this is the VTX to pick now.
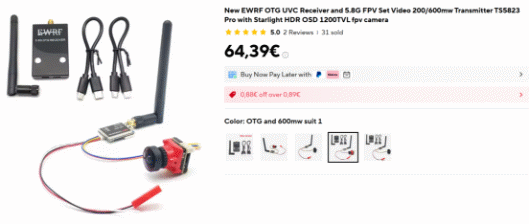
Option 2 — Analog (low cost)
Any low-cost analog FPV solution combined with a USB capture device. The video shows up as a webcam in apps like VLC or OBS, as long as the receiver is UVC-compatible. No goggles needed. Not tested by us yet.
Join the community
Once you have your hardware in hand, join the SimuRC-PRO Discord to share your build, get notified for new releases, and connect with other users.
Next step: Configuration Guide → (full setup walkthrough)